Manage your sales pipeline with the use of the statuses. Each list has basic statuses which can be freely adjusted to your needs.
There are two types of statuses:
Active – the system monitors communication and users behavior within that relation.
Inactive – the system no longer monitoring communication neither user activity within that relation.
Notice: If you receive e-mail from person who hasn’t any active relation with you, this mail will be stored in new messages (home view)
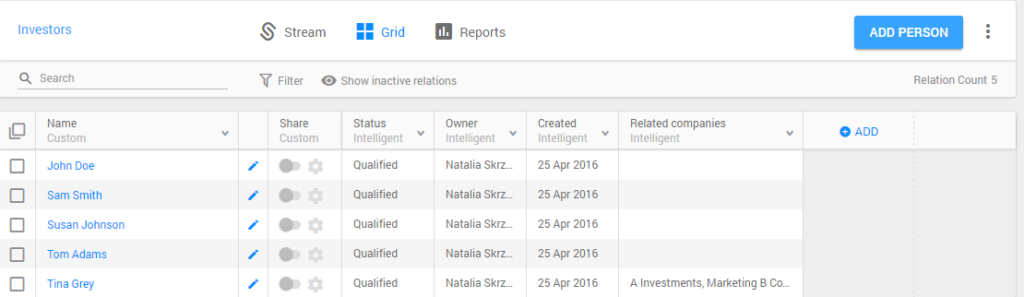
Step 1: Open the relation list
Open the relation list. Next, click on the “Status” heading of the column and choose edit to add new active and inactive statuses.
Click on the “Status” heading of the column
Step 2: Click on the “Edit Field” option
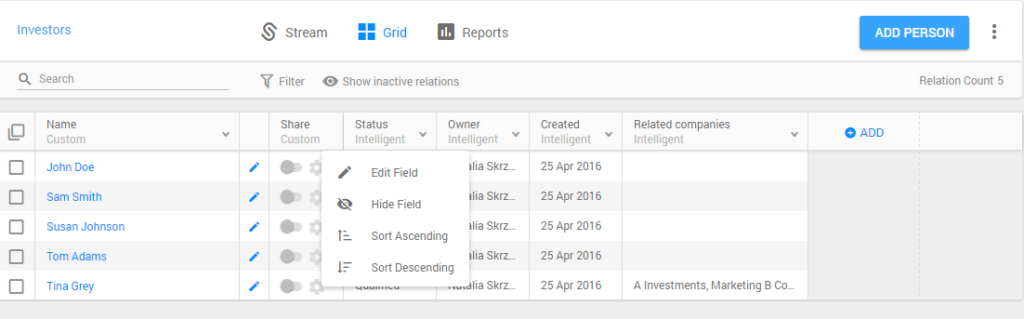
Edit status
Step 3: Add new custom status
Enter the new status name. The status will automatically appear on the left side of the list as an active status. If you want to add an inactive status, move added status, using drag and drop method, from left to the right column.

Enter a name of a new status
Read how you can change the status of each relation.